If you are interested in waist training using a corset, you know how expensive they can be. A custom corset can cost upwards of $200, which not everyone can afford. You can choose to wing it and buy a cheap one, but these don’t last very long, as you would see from reviews.
The option you have when you are on a tight budget is to make a DIY corset. This can be done using duct tape. It is quite a long process, so you need quite a bit of patience to do a good job. Below are the steps to make your underbust corset.
What you will need to make a custom made corset using duct tape:
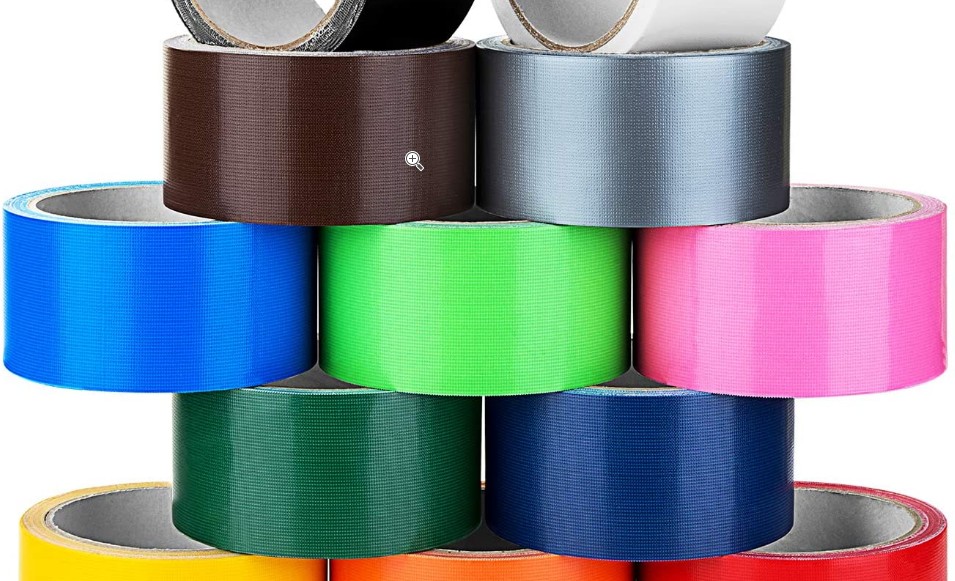
- At least three rolls of duct tape
- A tight-fitting shirt
- Scissors
- Rope or strong thread
- Eyelets
- Punch or nail
- A marker pen
Step one
Wear a well-fitting bra with an underwire and put on the fitting shirt over it. Start wrapping the duct tape around your midsection from your hips going up. It is easier to do this horizontally when you are alone. If you have a friend, turn around and round to make rolling the tape easier. Ensure that you get a snug fit so the duct tape corset will be tight enough.
Step two
Once you are done with the first layer all the way to the top, start again from the bottom and wrap another layer of duct tape around yourself. This is important to make the corset strong enough to cut and make the other adjustments you need. You can even do a third layer if you have time since the firmer it is, the better. Ensure that as you add the layers, you flatten any wrinkles as these will make your corset weak.
Check this too: Best Lace up Underbust Corset
Step three
When you have all the layers in place, you need to cut it. To ensure that you cut in a straight line, you should first draw a straight line from under your bust to your navel. You can use a ruler or cardboard to ensure accuracy. Once you have marked it, it is time to cut along the line of your homemade corset, making sure you don’t damage your bra.
Step four
Lay your corset flat and start rolling tape on it vertically, ensuring you leave a one-inch space between the strips. This is important since they work as the boning for your piece. Ensure that you fold in the edges, so you have a neat outcome.
Step five
Poke holes along the edge of the cutting you made, then use the eyelets to ensure that your corset lasts long. Leave a space of one inch between eyelets and ensure that they are well aligned, so your corset doesn’t look warped. Take the strong thread or rope and insert it in the holes in a zig-zag pattern. Check online for lacing tips so you can do it correctly, and your corset will be ready to use.
Learning how to make a corset without sewing may take some time, but you will achieve a perfect trainer if you follow the steps above well. Remember to make the piece strong by using more layers, allowing your waist trainer to last longer.

